
It was a working day as usual, and I was driving to the office early in the morning at 7.30am. After finding a nice parking place, I turned over to the passenger seat to carry my bag, only to see a BIG puddle of water on the seat! *gasp* Then I realized that my bottle of 1-litre water was almost empty! The careless me must have forgotten to tighten the cap of the bottle the night before, and since the bottle was placed in my bag, it was major flood case. :(((
The seat was drenching wet, and there was a puddle of water in my bag. A PUDDLE. And all my stuffs inside were wet thoroughly, with my handphone being the most vulnerable of all. I was terrified and used whatever I could find to dry my handphone first (meaning tissues). After somewhat drying the phone, I tried to switch it on to find out whether it worked or not. Bad mistake. Being someone with electronics background, I should have known that electronic parts that are wet would get shorted when powered on. Anyway, the phone did start up and stayed on for merely 10 seconds, after which it shut down automatically. Then only it hit me that something inside must have shorted and drawn lots of power until the battery was drained.
The seat was drenching wet, and there was a puddle of water in my bag. A PUDDLE. And all my stuffs inside were wet thoroughly, with my handphone being the most vulnerable of all. I was terrified and used whatever I could find to dry my handphone first (meaning tissues). After somewhat drying the phone, I tried to switch it on to find out whether it worked or not. Bad mistake. Being someone with electronics background, I should have known that electronic parts that are wet would get shorted when powered on. Anyway, the phone did start up and stayed on for merely 10 seconds, after which it shut down automatically. Then only it hit me that something inside must have shorted and drawn lots of power until the battery was drained.
The next thing I did was to drain all the water from my bag first, lest more things got unnecessarily wet. :( Before I left my car, I also wound down my window slightly so that the water would have an outlet to evaporize throughout the day, under the hot sun. After that, I gloomily walked to the office, hoping and praying that my dear Sony Ericsson phone would not fail on me.
Once I went back to the office, I searched for help online, be it in the form of internet surfing or through IM with close friends. One good friend of mine who works in the telecommunications line told me to disassemble the phone and use a hair dryer to blow dry it, then let it cool in the dry air-conditioned air before assembling it. That sounded pretty straightforward, only that I didn't know how to disassemble the phone! Another friend suggested putting the phone inside a bucket of rice because rice is apparently a very good dessicant. Being the impatient person that I was, I couldn't possibly do NOTHING for the whole working day until only after work when I could place the phone inside rice.
So, I decided to pursue with my first friend's suggestion, which was disassembling the phone! With the help of Bamboo and some online tutorials, I managed to disassemble the phone successfully! It is really not that hard, but you need the correct tools and the correct amount of energy to avoid spoiling the casing. So, here I present to you, the guide to disassembling the Sony Ericsson K530i handphone.
Tools required:
- Small flat screwdriver (2-3mm wide)
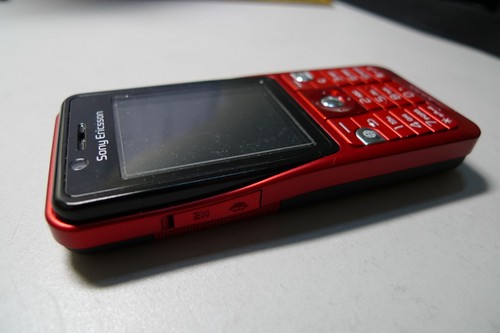
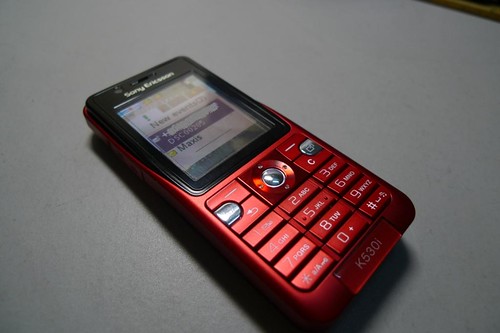
Sony Ericsson K530i
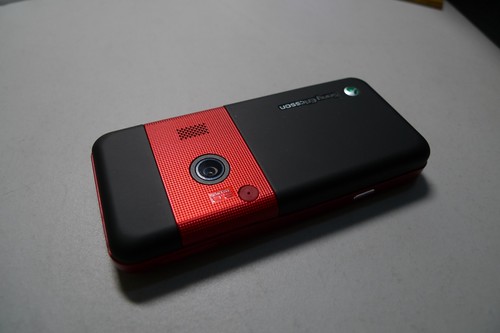
Back of phone
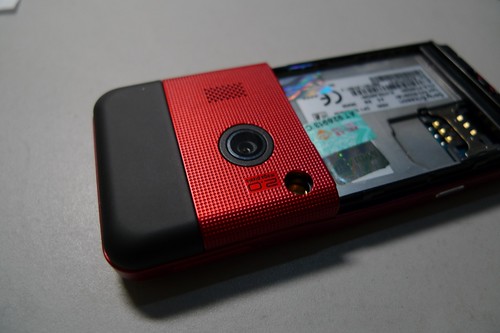
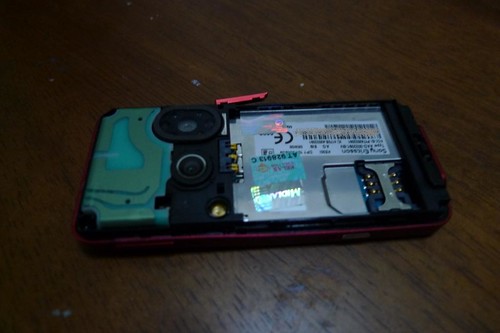
1. First of all, remove the outer casing from the back of my phone, followed by the battery and SIM card.

Remove cover, battery and SIM card
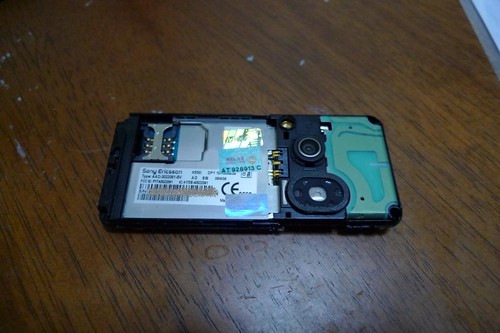
3. Next, remove the M2 (memory card) from its slot at the side.
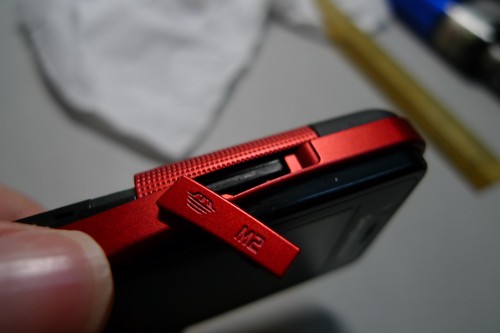
M2 card
4. Using the small flat screwdriver, try to dislodge the clips at both sides of the speaker cover. Be careful to just pry at the sides of the cover and not the centre, for fear of breaking the case. Try to look for opening to insert the screwdriver and slowly but firmly angle it such that the clips are dislodged.
Dislodge the red speaker cover
5. Using the same method as above, dislodge the last piece of back cover using the screwdriver. Again, make sure you pry only at the sides.
Dislodge the small black cover at the back
6. Then, use the Torx screwdriver and unscrew all four screws that you could see at four corners of the phone. This would be an easy task.
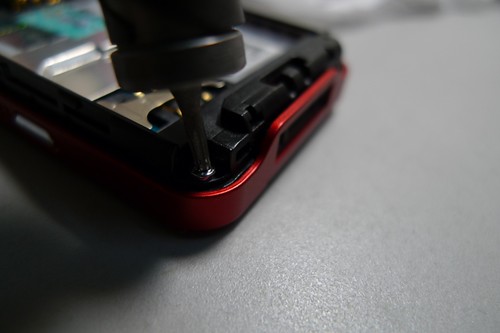
Unscrewing the Torx screws
7. Now the last part of the disassembly is to separate the front casing with the rest of the phone. This will need patience and energy to do it, because I took many tries but only managed to dislodge one side of it. Perhaps I was just too fearful of breaking the case into pieces. :P Luckily Bamboo helped to save the day. :)
Separate the front cover from the rest of the phone
Tadaa! Phone successfully disassembled!

Front cover
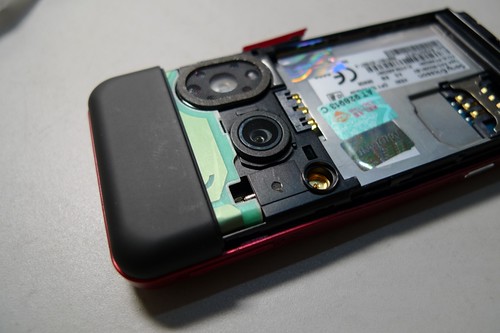
Naked phone
Even though my steps are specific to the Sony Ericsson's K530i model, I'm pretty sure it would be applicable to most phones (except Iphones, flip phones, phones which are not one piece, etc).
As for my little mishap, I left my phone 'naked' for the rest of the day in the office, until I went back home in the evening. Then, I used the hair dryer and blew dry it. Afterwards, it was assembling the unit back into the original piece! In my opinion, assembling is much easier than disassembling, because not much brutal force is required, and there is less risk of breaking or scratching surfaces. :/
Now, the most exciting part is, did the phone still work after the flood it went through? Let us see... Powering it on now and after a few seconds...
My phone is alive! :)
2 messages received! Woohoo! My phone was revived! *relieved* Thank god there was nothing wrong with it. Now you know what you should do in case you meet with the same emergency situation like mine. :)
Tip: Before assembling the front cover back, make sure you clean the inside of the transparent part properly. Use non-static cloth or cellophane tape if you will, to make sure there's not even one speck of dust there. Else, you will face with my result. :( Look at my LCD screen, the dust you could see is actually trapped in between the casing and the LCD screen inside. And I'm too lazy to open up the whole thing again to wipe that off. :(
Sony Ericsson K530i


8 comments:
yay ur phone! it's... ALIVEEE!!!
well at least yours got soak in water. my friend's got soak in 100plus. and it was pronounced dead a week ago. I wonder if it'll work should she had used your method of reviving your hp.
You are very lucky to be able to save your phone! And so smart too! Thanks for the tips! I wonder if a handphone that is dropped into the toilet bowl can still be saved or not? : )
LOL. you so panicky yet got time to snap pic of ur naked hp eh? :)
wondering how can a bottle of water emptied, yet you drove all the way without realising ... hmmmm ....
I hate it when that happens! Water spilling in our bags, I mean. Knowing how clumsy and careless I am, that's happened to me numerous times. :|
Don't think I could've done what you did though. It's too..um.."mechanical"? Haha.
I am trying to figure out why you didn't send the phone to technicians...
Apparently, there are pictures of some naked people inside :P
chiaoju: Haha 100 plus! I guess it would just be the same as soaking in water. The key is to make sure the parts are dried as soon as possible. :)
foongpc: Thank you! Well I think as long as the phone is dried up immediately, no matter what causes the wetness, it will still be saved. :)
J2Kfm: Very good observation! In fact, I took those string of pictures when I was ASSEMBLING the phone back, and then just arranged it the opposite way. You're right, I was so panicky and kancheong that I didn't even bother with taking pictures when it was wet. :) Oh the bottle was in my bag, in the passenger seat! I had no idea it was leaking at all! :(
MisSmall: Haha, well you don't need to do what I did if you could send it to a repair shop in time. ;)
khengsiong: LOL, I didn't send it to the technicians cause it was a working day, and I was too worried to have to wait a whole day before I could get it fixed. So I took the matter into my own hands to fix it. :) No naked pictures ok! :P
Don't worry. Now with the advancement of technology. Everything is wettable and reusable! Lol!
Just don't soak it in the water.
Haha your comment is cute! Wettable! :) Well I guess we just need to know some first-aid to prevent the phone from being dead. LOL
Post a Comment