You must be thinking what's wrong with me, to write about mooncake when the Mooncake Festival is still far away? Well, my dear cousin Theng just came back from the UK recently for a visit and she loves mooncakes. Therefore, my mom decided to make a small batch of mooncakes for her since she doesn't come back often. The first few steps are actually the toughest, namely making the 'lin yong' or the lotus seed paste. I missed out on that process as I wasn't back home yet that time.
After the lin yong was completed, the next step was to weigh each 'ball' and to insert a salted egg into the middle of the ball. The end product would look like this:
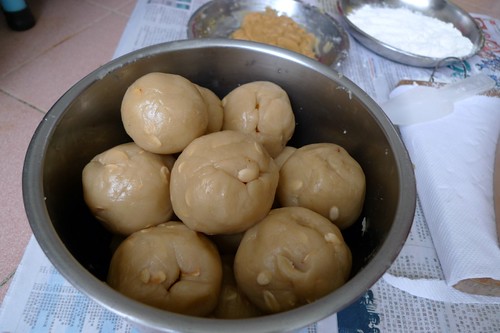
Balls of lotus seed paste with salted egg implanted
Next up was the process of coating the lin yong ball with the outer layer or the skin. I'm sorry I don't have the recipe, but even if I have, it's not in my place to share my family secret. :P Anyway, the picture below shows the skin paste and some flour, to prevent the skin from sticking onto the mold.
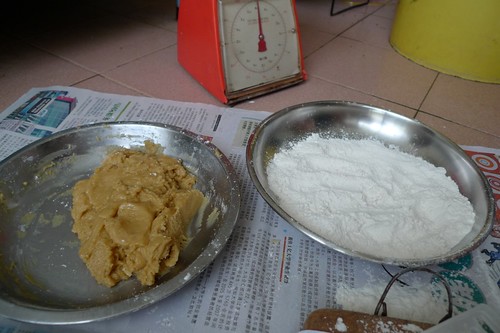
Skin paste and flour
The mold that has been with us for many many years - big and small size:
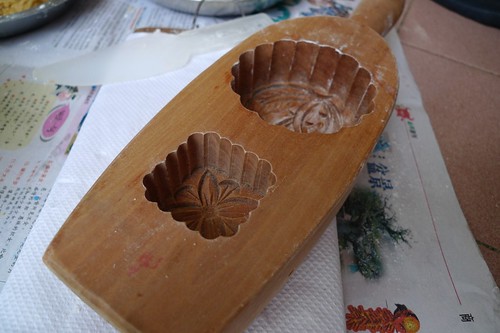
The mold
To me, I think the hardest part of making mooncake that requires a lot of skill is the coating of the skin. The skin cannot be too thick because it would make the mooncake too hard, and it cannot be too thin either for fear of cracking. Plus, if it is too thin, the mold would not turn out to be that defined.
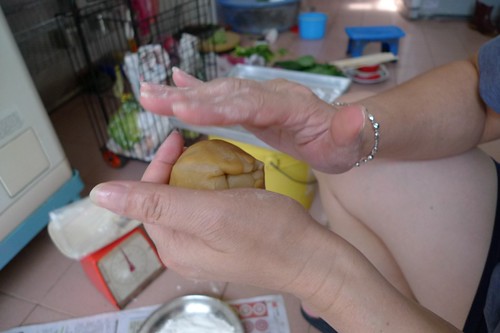
Covering with the skin
Next, the lin yong ball with skin was placed into the mold carefully. If all the measurements are done correctly, the ball would fit into the mold to a T! No leakage and just right. See how the top layer of the mold is flat in the picture? ;)
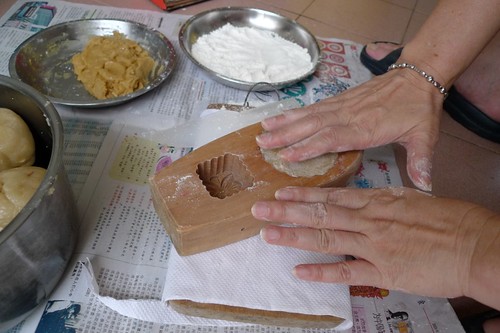
Molding process
After molding, another hard process would be to 'knock' the mooncake out. This is also another tricky process because if it is not done right, part of the skin will be stuck on the mold and your whole mooncake would have been spoiled, aesthetically, I mean. That's why having enough flour on the mold is important. See how it looks like once it's out!
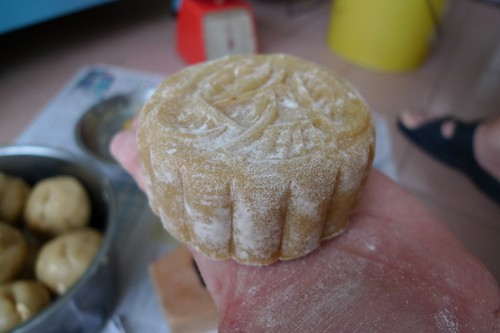
Tadaa!
A closer look. See how each trace is perfect and smooth? Kudos to my mom!
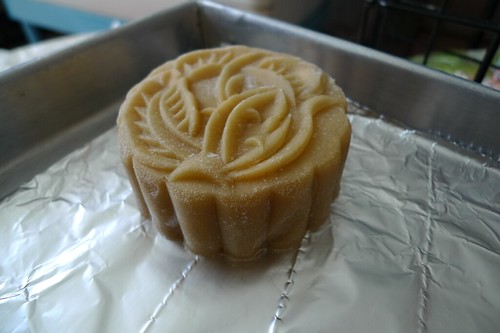
A closer look
Only 2 completed so far. Many more to go!
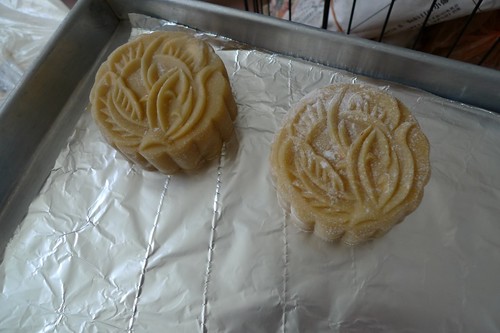
Perfectly molded
After completing one tray, the tray was placed into a pre-heated oven to bake. When the mooncakes are almost done, they are removed from the oven for a finishing touch.
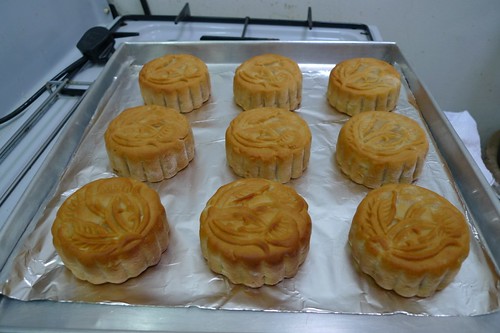
Halfway done
What is the finishing touch? Well it is the coating of a layer of beaten egg on the half-baked mooncakes. This is to give the mooncakes a glossy and golden finish when they are complete. The trick here is to make sure the egg is beaten thoroughly, and during the application, ensure minimal bubbles on the mooncake. These bubbles would stay on the top layer until after they're completely baked if you don't get rid of them. You wouldn't want bubbles to spoil the appearance of the moooncakes, do you? :)
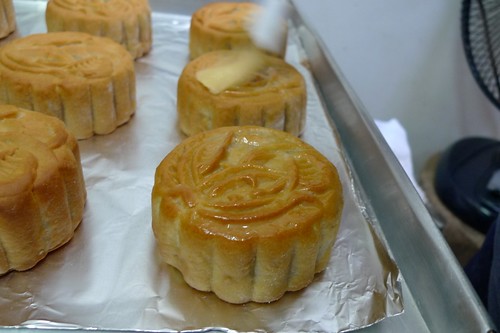
Applying beaten egg on the mooncakes
Finally, the tray is placed back into the oven again for the final baking. When it's completed, they look golden brown and shiny like this!
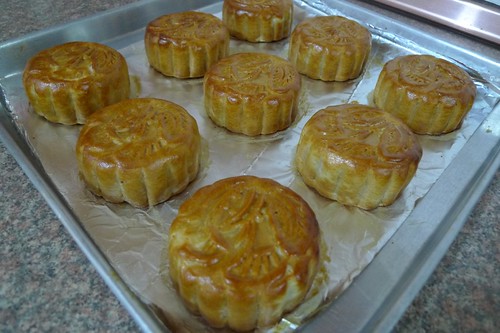
Just out from oven
After a few more rounds of repeating the same process, all the mooncakes were finally ready. Look at how gorgeous they were.
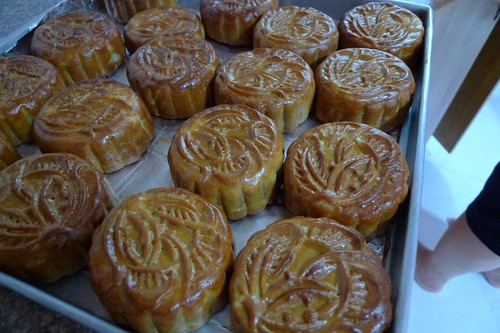
After a few hours
Did I just make you crave for mooncakes? :P
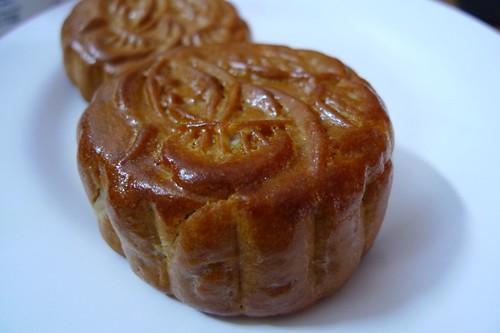
Shiny and golden mooncake
The best part of it all was that we could sample the mooncakes fresh from the oven! The skin was still crispy, but it was a little messy during the cutting process, because crumbs would fall out all over. Nothing beats homemade mooncake. And it received thumbs-up from everyone in the family. :)
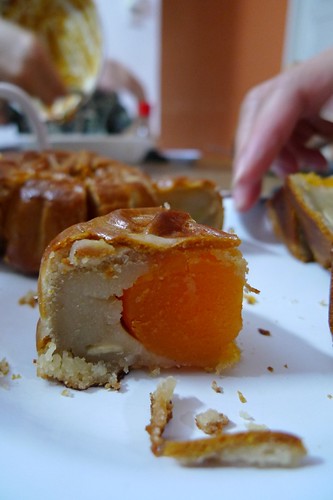
Final product
Hopefully we'll have another chance of eating mooncake during the Mooncake Festival this year!
After the lin yong was completed, the next step was to weigh each 'ball' and to insert a salted egg into the middle of the ball. The end product would look like this:

Balls of lotus seed paste with salted egg implanted
Next up was the process of coating the lin yong ball with the outer layer or the skin. I'm sorry I don't have the recipe, but even if I have, it's not in my place to share my family secret. :P Anyway, the picture below shows the skin paste and some flour, to prevent the skin from sticking onto the mold.

Skin paste and flour
The mold that has been with us for many many years - big and small size:

The mold
To me, I think the hardest part of making mooncake that requires a lot of skill is the coating of the skin. The skin cannot be too thick because it would make the mooncake too hard, and it cannot be too thin either for fear of cracking. Plus, if it is too thin, the mold would not turn out to be that defined.

Covering with the skin
Next, the lin yong ball with skin was placed into the mold carefully. If all the measurements are done correctly, the ball would fit into the mold to a T! No leakage and just right. See how the top layer of the mold is flat in the picture? ;)

Molding process
After molding, another hard process would be to 'knock' the mooncake out. This is also another tricky process because if it is not done right, part of the skin will be stuck on the mold and your whole mooncake would have been spoiled, aesthetically, I mean. That's why having enough flour on the mold is important. See how it looks like once it's out!

Tadaa!
A closer look. See how each trace is perfect and smooth? Kudos to my mom!

A closer look
Only 2 completed so far. Many more to go!

Perfectly molded
After completing one tray, the tray was placed into a pre-heated oven to bake. When the mooncakes are almost done, they are removed from the oven for a finishing touch.

Halfway done
What is the finishing touch? Well it is the coating of a layer of beaten egg on the half-baked mooncakes. This is to give the mooncakes a glossy and golden finish when they are complete. The trick here is to make sure the egg is beaten thoroughly, and during the application, ensure minimal bubbles on the mooncake. These bubbles would stay on the top layer until after they're completely baked if you don't get rid of them. You wouldn't want bubbles to spoil the appearance of the moooncakes, do you? :)

Applying beaten egg on the mooncakes
Finally, the tray is placed back into the oven again for the final baking. When it's completed, they look golden brown and shiny like this!

Just out from oven
After a few more rounds of repeating the same process, all the mooncakes were finally ready. Look at how gorgeous they were.

After a few hours
Did I just make you crave for mooncakes? :P

Shiny and golden mooncake
The best part of it all was that we could sample the mooncakes fresh from the oven! The skin was still crispy, but it was a little messy during the cutting process, because crumbs would fall out all over. Nothing beats homemade mooncake. And it received thumbs-up from everyone in the family. :)

Final product
Hopefully we'll have another chance of eating mooncake during the Mooncake Festival this year!


6 comments:
Very comprehensive guide on making mooncake.
yeah, i was surprised at the title as well. Mooncake Fest comes early? :)
anyway, its interesting to see the process of making one.
Lucky for you getting to eat mooncake twice in a year.
Borneo Falcon: Thank you. :) Hope you like it.
J2Kfm: Haha, well it's because of my cousin that we got to eat mooncakes as well.
ck lam: Hehe, if we really want to, we could eat more than 2 times a year also. :)
Wow, that's really nice. I just bought a recipe book on mooncake, but looking at the process you described, it sure looks tough!
Irene: Hehe yea, I think it requires a lot of skill. Don't worry, practice makes perfect! :)
Post a Comment